Corner Jig
This equipment is safety category 6: Other equipment with no limits.
This equipment is Noise Category 3: Can be used at all hours. No limits.
Inhoud
Intro
This is a jig for use with a router to put a neat radius on the corner of a piece of wood. It can be used with either the router table, or a hand held router.
The parts
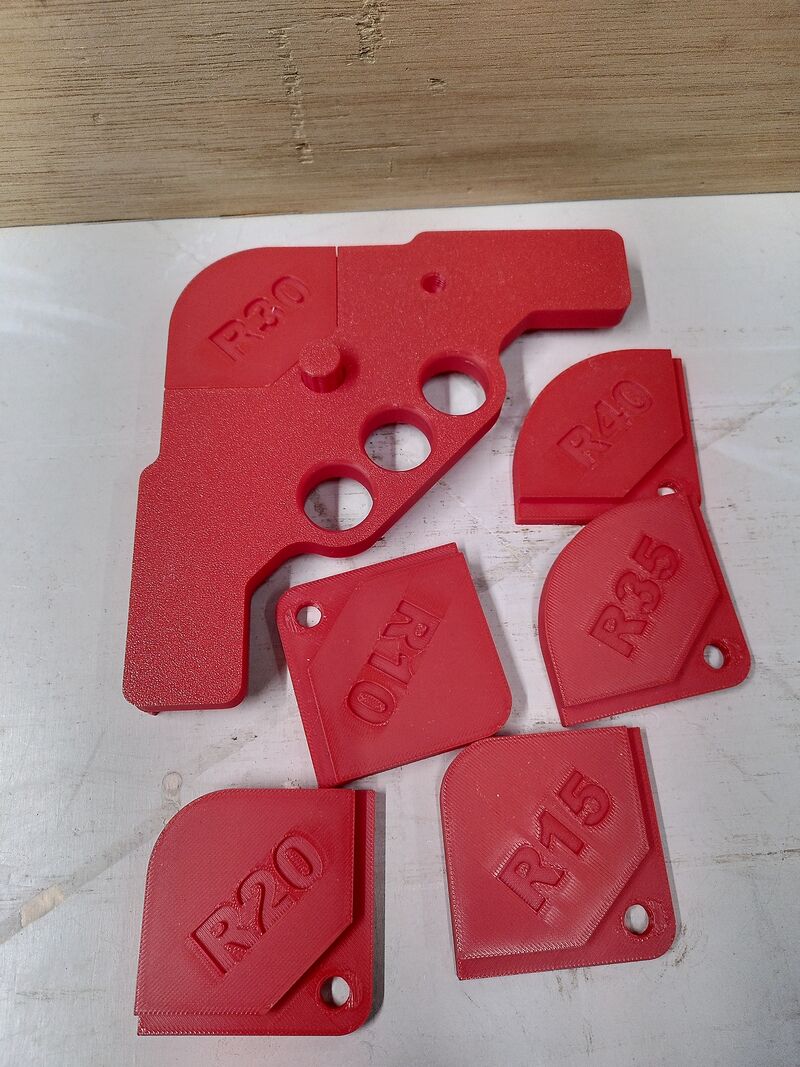
There are two holders, 7 radii inserts, and two screws. The holders are one small, one large. If possible use the larger one, but if your work piece is too small, use the smaller one. The 7 inserts covere radii from 10mm to 40mm in 5mm increments. There are two screws, one in red which can be installed by hand, and one in black that needs a philips screw driver to insert/remove.
How to use
step zero: install the correct radius insert for what you want to do. If you are using a hand held router, make sure you use the black screw and install it using a philips screwdriver. If using the router table, either screw will do.
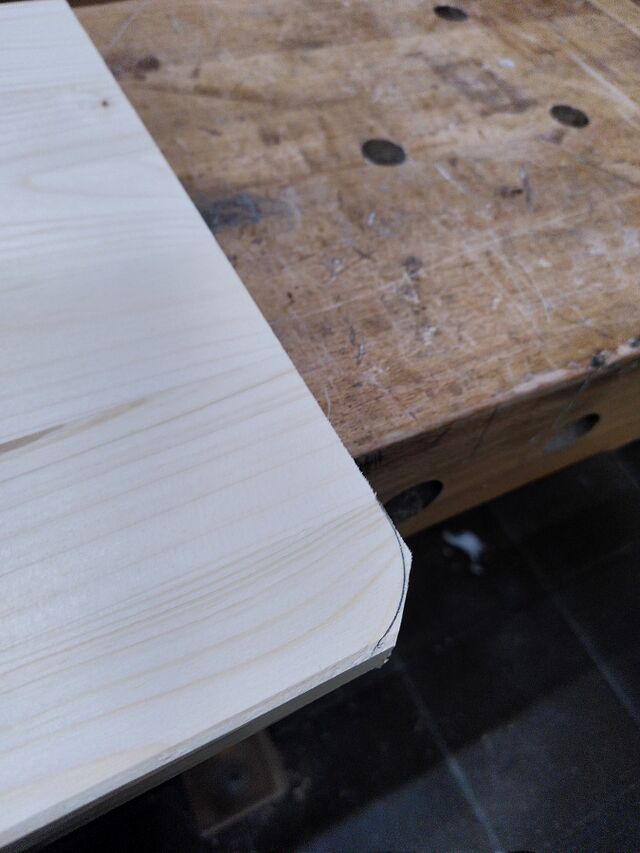
step one: Make your life easier and remove the bulk of the material with a saw.
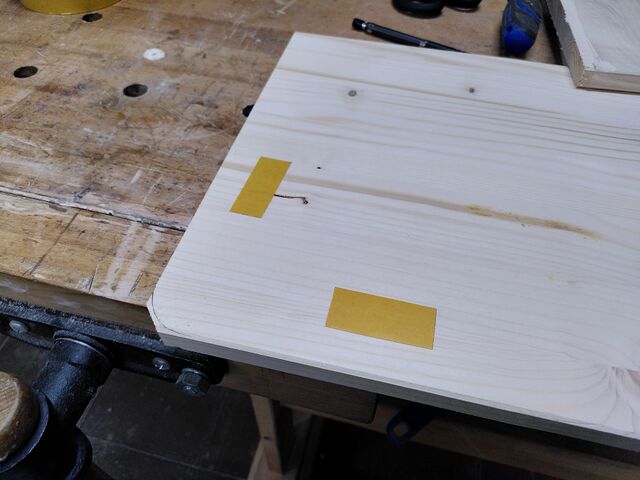
step two: While you can just hold the jig in place while you use it, it makes your life easier to use a small piece of double sided tape to hold it in place.
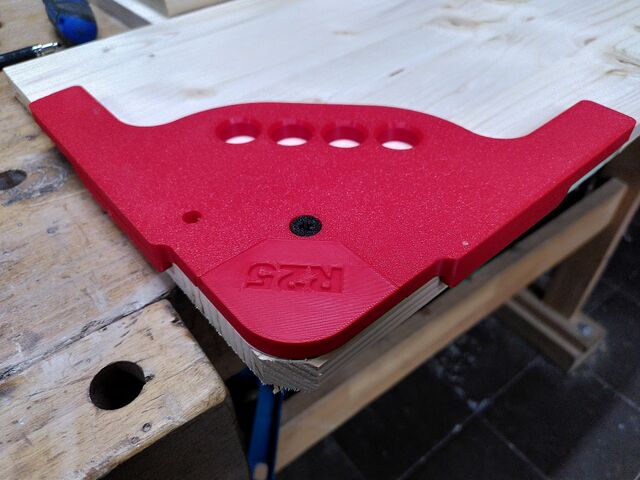
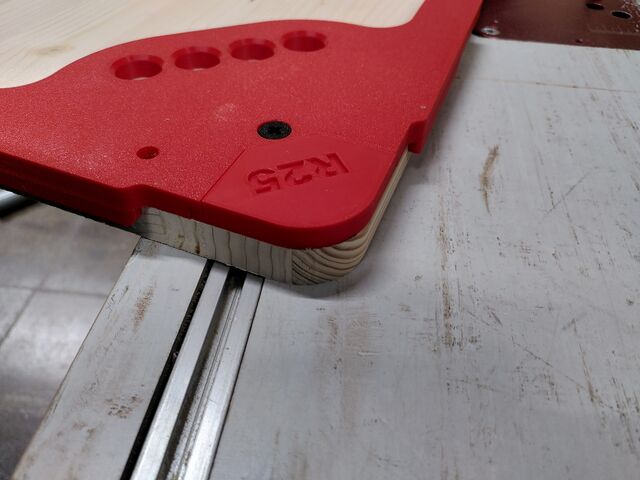
step three: fit the jig to the work piece.
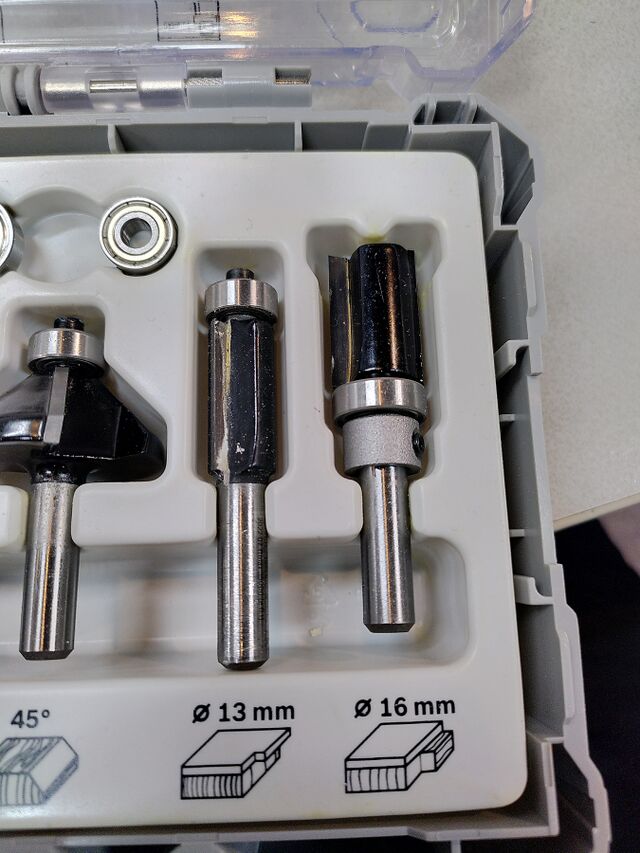
step four: Choose the right router bit. The jig works with a pattern router bit. If you are using the table router, then you need a big with the bearing at the far end away from the shank. If using a hand held router you will need a bit with a bearing at the end near the shank.
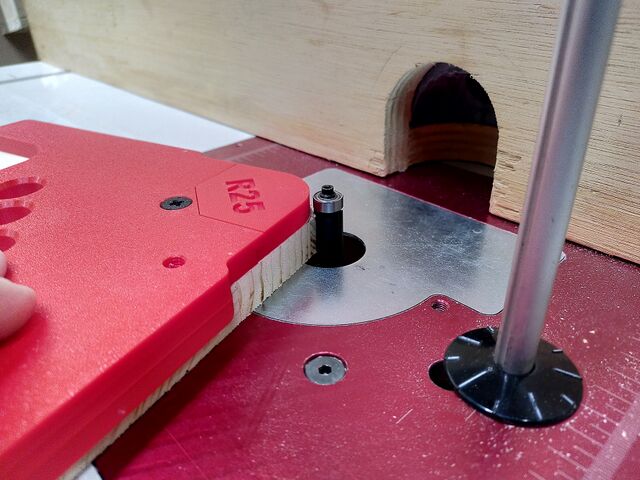
step five: set the height of the router bit. The bearing should run along the plastic part of the jig. See the picture below.
Step six: Cut the Radius. Turn on the router, and carefully feed the work piece into the cutter, making sure the bearing runs along the radius jig. Observe the correct cutting direction for the router (see arrow on the router table).
Congratulations you should now have a nice radius on your peice of wood. Remove the jig from the work piece, and make sure to remove the double sided tape from both jig and wood.
Source
This corner jig came from makerworld: https://makerworld.com/en/models/410156?from=search#profileId-312104
If you want an imperial size radius insert, or need to replace part of it, it can easily be 3d printer on the bambu printer.
