Face Mill: verschil tussen versies
Geen bewerkingssamenvatting |
|||
| (7 tussenliggende versies door 2 gebruikers niet weergegeven) | |||
| Regel 1: | Regel 1: | ||
[[ | [[Category:Tools]][[Category:Metal working tools]][[Category:Metal lathe and mill tools]][[Category:On loan tools]] | ||
{{SafetyCat6}}{{NoiseCat3}} | {{SafetyCat6}}{{NoiseCat3}} | ||
| Regel 13: | Regel 12: | ||
==How to install it in the Mill== | ==How to install it in the Mill== | ||
The | The facemill should have 6 cutters installed. There's 4 more spares in the draw below the lathe with all the other carbide inserts. Before use make sure the screws holding all the inserts are tight, and that the inserts are properly seated. Make sure the big black bolt in the bottom of the face mill is tight. This holds the face mill assembly to the iso40 tool holder. | ||
With the iso40 taper tool holder and the face mill all assembled, the full assembly is about 1.5kg. It's heavy. Holding it in one hand while trying to tighten the draw bar nut at the top of the mill with the other hand is not something most of us can safely do. Consider placing the tool on the vice, or table, and then positioning the spindle over the tool and raising the tool up to meet the spindle. Do not use the Z power feed, you'll risk crashing the spindle into the tool. Make sure the drive dogs on the spindle line up with the slots on the tool. | |||
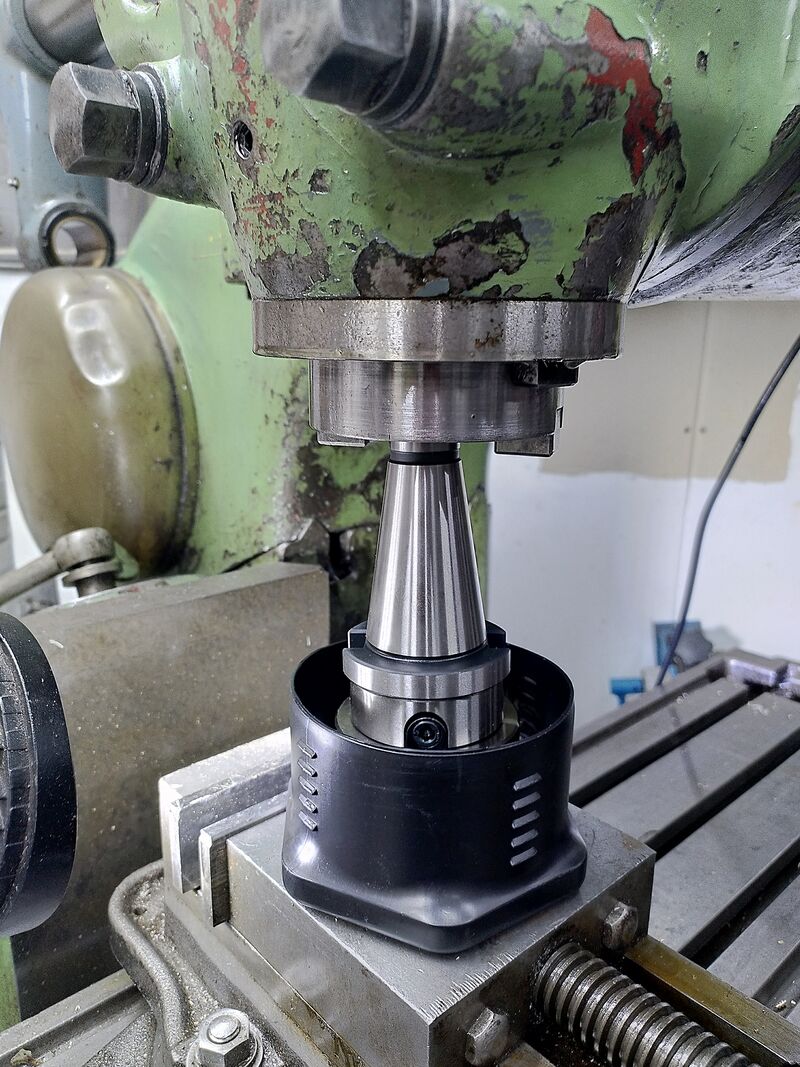
[[Bestand:FaceMill02.jpg|800px|Installing the face mill.]] | |||
==Feeds and speeds== | ==Feeds and speeds== | ||
About 500 RPM seems to be the right speed for cutting steel. Running it at 720 results in sparks. Pretty, but not ideal. Stick to 500rpm. Depth of cut should be greater than the radious of the inserts installed. | About 500 RPM seems to be the right speed for cutting steel. Running it at 720 results in sparks. Pretty, but not ideal. Stick to 500rpm. Depth of cut should be greater than the radious of the inserts installed. Make sure you use plenty of coolant. The face mill can cut on both the front and the back, so make sure you add cutting fluid to both sides of the tool. | ||
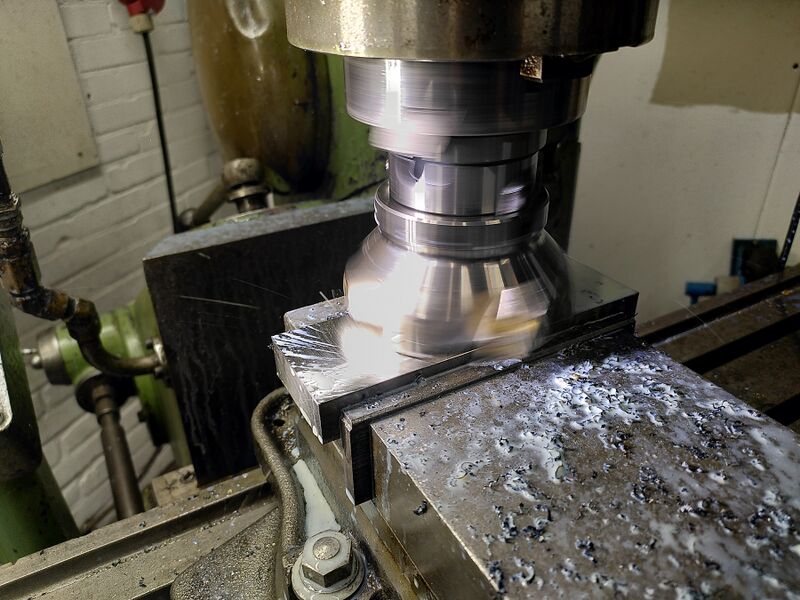
[[Bestand:FaceMill03.jpg|800px|Face Mill in action]] | |||
If you get the feeds and speeds right. The surface finish is wonderful. A steel ruler should reflect on the surface. | |||
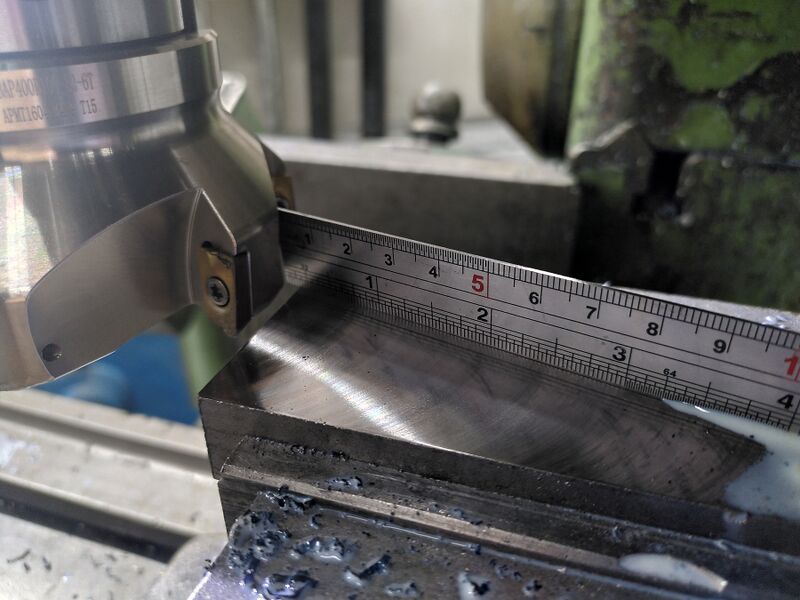
[[Bestand:FaceMill04.jpg|800px|Surface Finish]] | |||
You will get a burr on the sides of the workpiece. Make sure you deburr before you try and pick it up, blood is highly corrosive on steel. | |||
==Replacement inserts== | ==Replacement inserts== | ||
The inserts currently installed are a set from [https://www.amazon.nl/dp/B0B2KQC3TG?|Amazon]. If surface finish is important, or you're machining something other than steel (brass, aluminium, stainless etc...) consider buying your own. The inserts are double ended, so you can swap the inserts end on end to get more life out of them. If you are buying your own, the inserts to go for are APMT1604. | The inserts currently installed are a set from [https://www.amazon.nl/dp/B0B2KQC3TG?| Amazon ]. If surface finish is important, or you're machining something other than steel (brass, aluminium, stainless etc...) consider buying your own. The inserts are double ended, so you can swap the inserts end on end to get more life out of them. If you are buying your own, the inserts to go for are APMT1604. If you are in no rush, then suitable inserts would be [https://www.aliexpress.com/item/1005006366081753.html| these from aliexpress] | ||
==Ownership== | |||
The tool belongs to Julia, and is on loan to the makerspace. Please treat it well. | |||
Huidige versie van 29 jan 2025 23:23
This equipment is safety category 6: Other equipment with no limits.
This equipment is Noise Category 3: Can be used at all hours. No limits.
Intro
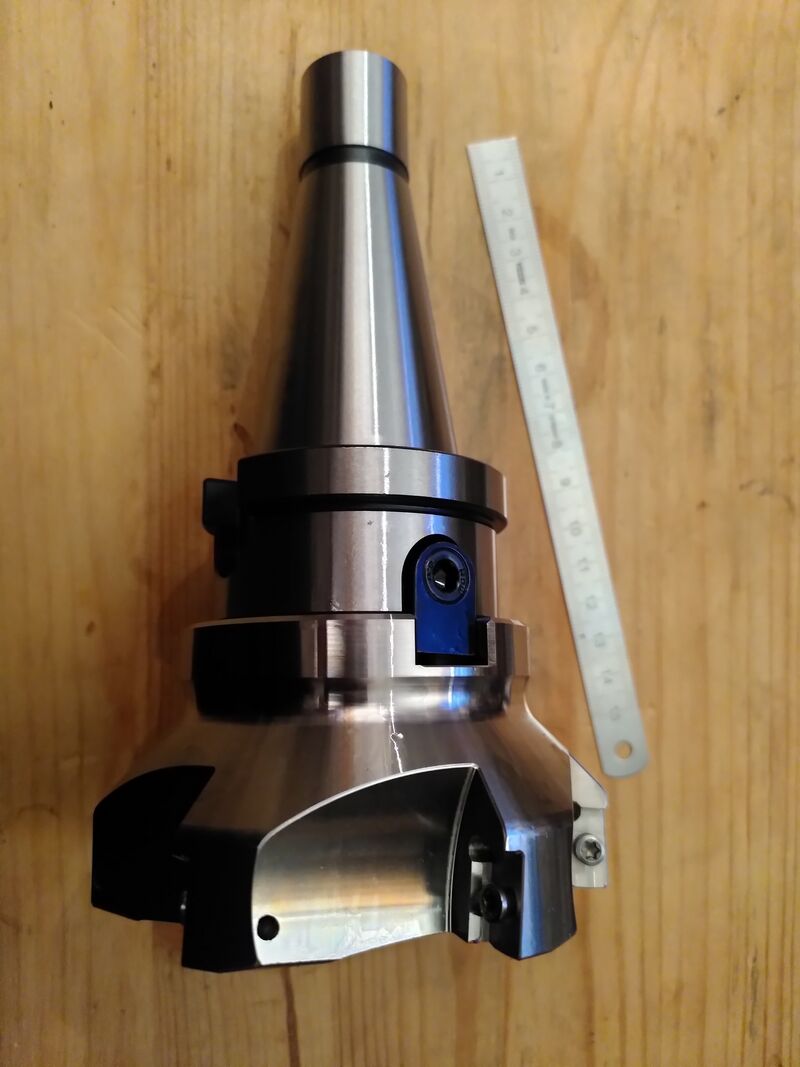
We now have a big face mill. The face mill in question is a 100mm diameter, with 6 carbide insert cutters.
Until a better home can be found, it is currently in the bottom of the blue cabinet. When putting it away, please make sure it goes back in it's black plastic case with the peice of foam in the bottom to protect the inserts. Make sure the tool for undoing the screws that hold the inserts in, is kept with the face mill.
How to install it in the Mill
The facemill should have 6 cutters installed. There's 4 more spares in the draw below the lathe with all the other carbide inserts. Before use make sure the screws holding all the inserts are tight, and that the inserts are properly seated. Make sure the big black bolt in the bottom of the face mill is tight. This holds the face mill assembly to the iso40 tool holder.
With the iso40 taper tool holder and the face mill all assembled, the full assembly is about 1.5kg. It's heavy. Holding it in one hand while trying to tighten the draw bar nut at the top of the mill with the other hand is not something most of us can safely do. Consider placing the tool on the vice, or table, and then positioning the spindle over the tool and raising the tool up to meet the spindle. Do not use the Z power feed, you'll risk crashing the spindle into the tool. Make sure the drive dogs on the spindle line up with the slots on the tool.
Feeds and speeds
About 500 RPM seems to be the right speed for cutting steel. Running it at 720 results in sparks. Pretty, but not ideal. Stick to 500rpm. Depth of cut should be greater than the radious of the inserts installed. Make sure you use plenty of coolant. The face mill can cut on both the front and the back, so make sure you add cutting fluid to both sides of the tool.
If you get the feeds and speeds right. The surface finish is wonderful. A steel ruler should reflect on the surface.
You will get a burr on the sides of the workpiece. Make sure you deburr before you try and pick it up, blood is highly corrosive on steel.
Replacement inserts
The inserts currently installed are a set from Amazon . If surface finish is important, or you're machining something other than steel (brass, aluminium, stainless etc...) consider buying your own. The inserts are double ended, so you can swap the inserts end on end to get more life out of them. If you are buying your own, the inserts to go for are APMT1604. If you are in no rush, then suitable inserts would be these from aliexpress
Ownership
The tool belongs to Julia, and is on loan to the makerspace. Please treat it well.


