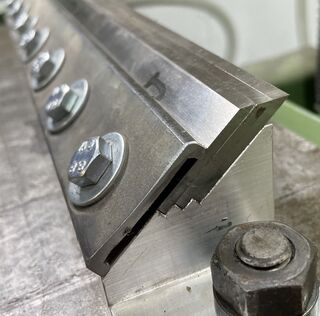
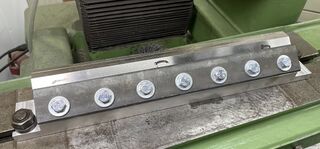
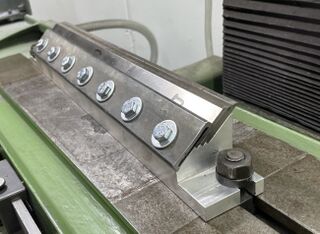
Schaafmes Slijphouder
This equipment is safety category 6: Other equipment with no limits.
This equipment is Noise Category 3: Can be used at all hours. No limits.
Speciale houder om messen te slijpen op de Vlakslijpmachine / Surface Grinder.
Met dank aan HansD. Vraag demo bij HansD of Dirk-Willem. Het is absoluut niet moeilijk.
Movie: https://vimeo.com/manage/videos/663078557 or https://vimeo.com/manage/videos/663078557
Instructions / use
- Mount jig on the Surface Grinder; you typically will have to remove the magnetchuck. You need Spanner #22 for this. Check that the surfaces are clean - so that the jig is mounted parallel to the table. It will be diagonal. This is intentional.
- Ensure the jig is clean (so the knifes will seat well/flush)
- Ensure the knifes are clean (so the knifes will be tightly packet)
- Put the knifes in the jigs; hand tighten and then tighten the bolds gradually
- Puth the endstoppers as far left/right as you can; but where they still 'lock' in place.
- Lower the wheel over the knifes until you can just about no longer have a piece of (thin) paper in between. Err on the side of 'too high'.
- Gently check that it also does not touch at the far left/right
- Start the wheel. Move table forward so that the wheel is just 'before' the knifes.
- Start motion & coolant.
- Now gently lower the wheel until it just touches (usually at the far left or right side; the middle is often a bit lower.
- Make a full pass; then go down in steps of 5 or 10 until all nicks and scratches are gone.
- Step down 2; and do a 2 final passes (or 3 if it it still touches.
- Remove knifes & use the wetsteen(speksteen) to remove the bur on the back.


